
In each direction fold the paper in half and in half again. This will give you sixteen parts as shown, four rows and four columns.

Fold the top and bottom short sides into the middle.
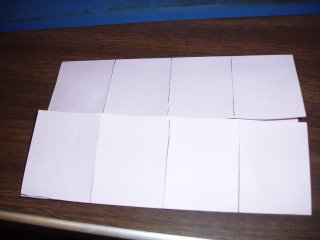
Press the edges flat. The gap should be in the middle, running from side to side.
 Take one corner and fold it so that the bottom edge is aligned with the quart fold. The top of this new triangle will *not* meet up with the center. That is more than okay, it is the big secret.
 Do the same to the other four corners, folding them just to where the bottom edge touches a vertical quarter fold.
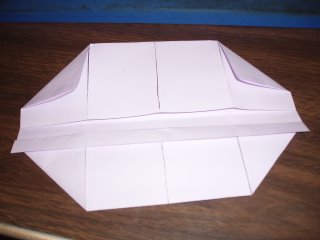
Take the the little strip of paper that stick above the corner fold, and fold it down towards you, right where the corner is. You will trap the two corners under this fold.
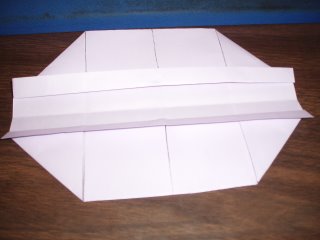
Do the same to the other side. This "trapping" of the corner folds prevents the box from falling open while in use.
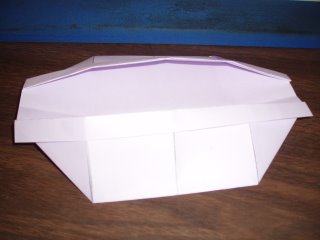
Slide your fingers into the pocket under the little folded strip, on both sides. Gently lift your fingers. The sides you are touching will move apart and start to stand up like a box. The sides you are not touching will start to move closer together and stand up like a box.
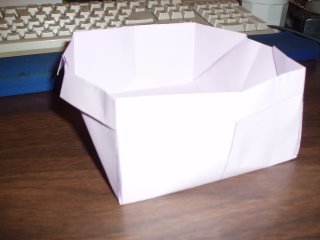
Crease the corners and around the bottom.There is your new little box.

2 comments:
Okay, that is very cool. I will have to use that amaze the grandkids. What size paper were you using?
It's 8.5 x 11" copy paper.
Being rectangular is what give the box the fold-over lip that keeps the corner miters from unfolding.
If the paper was square, then the folded corners just meet in the middle. You could still do it if you used a fastener (tape, paper clip, brad) on the corners or didn't fold the corners all of the way to the quarter fold guideline.
Post a Comment